Getting Started with Salesforce DevOps using Blue Canvas
This page will help you get started with Blue Canvas. You'll be up and running in a 4 clicks!
Connect Your Salesforce Orgs
With Blue Canvas you get automatic Salesforce metadata backups and audit trails set up in just 4 clicks. There is literally no training or other work required.
Automatic Metadata Tracking
Blue Canvas polls your Org and looks for changes to tracked metadata. This happens automatically as soon as you connect your Org. No need for any further setup.
For example, if someone makes a change in the Developer Console or in the declarative UI, Blue Canvas will pick it up and make it a commit in the source history.

Map out your Salesforce Deployment Pipeline
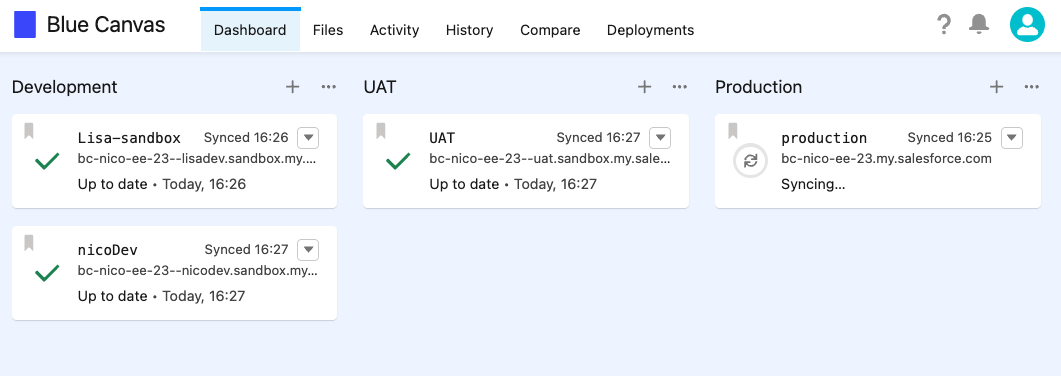
You will see three columns on the dashboard: Development, UAT, and Production. Choose which group you want to connect your orgs under. Please note that these columns are simply to help organize your orgs according to your release process.
You can have multiple connected orgs in each column.
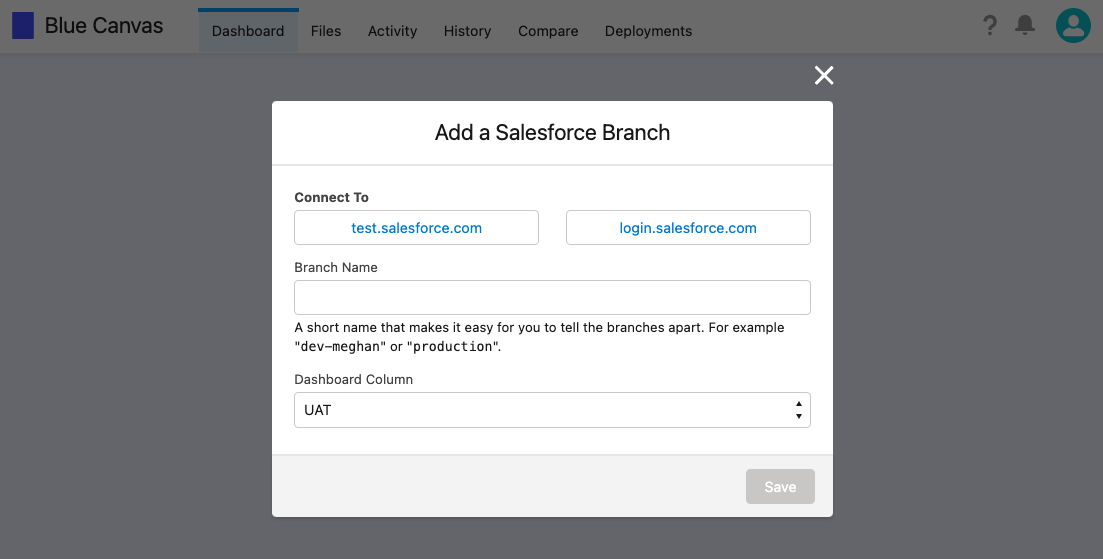
Click Connect an Org in the appropriate column.
Name Your Branches accordingly
In Blue Canvas, each Salesforce org is tracked in a dedicated branch. The name you give to the branch will be used to refer to changes on the connected org, across the Blue Canvas UI. Choose a name that easily helps you remember which org that branch represents.

Select the Appropriate Org Type
Choose between Developer Edition, Sandbox, and Production depending on the Edition of the Salesforce Org you are going to connect.

Connect with OAuth
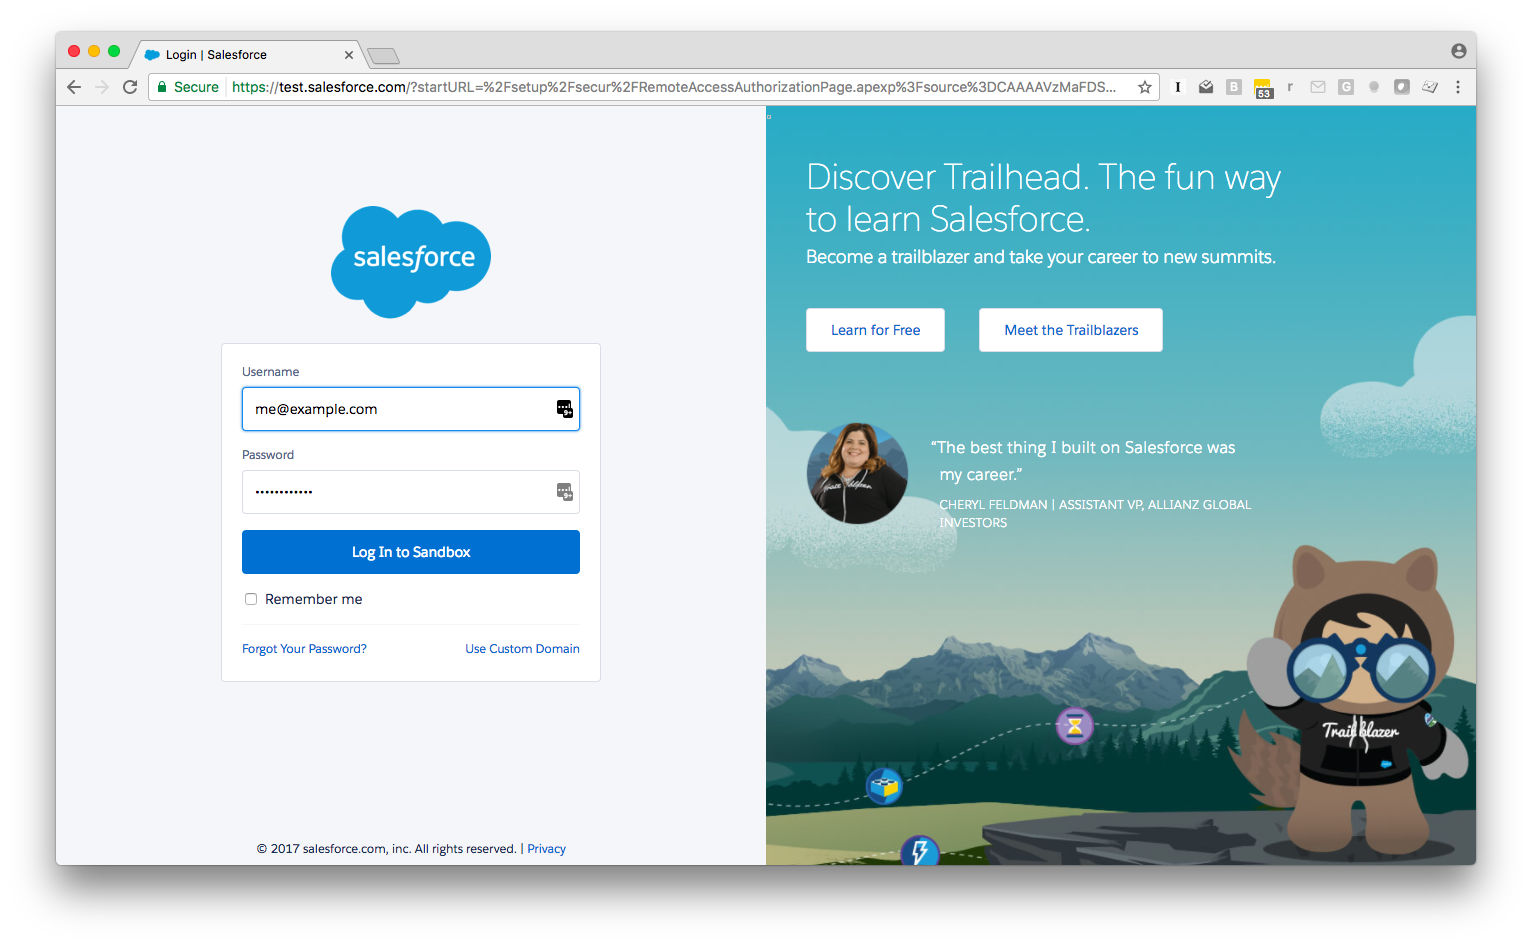
You'll be prompted to go through Salesforce's highly secure OAuth flow. Log in with the Salesforce username and password belonging to the Salesforce Org you are going to connect.
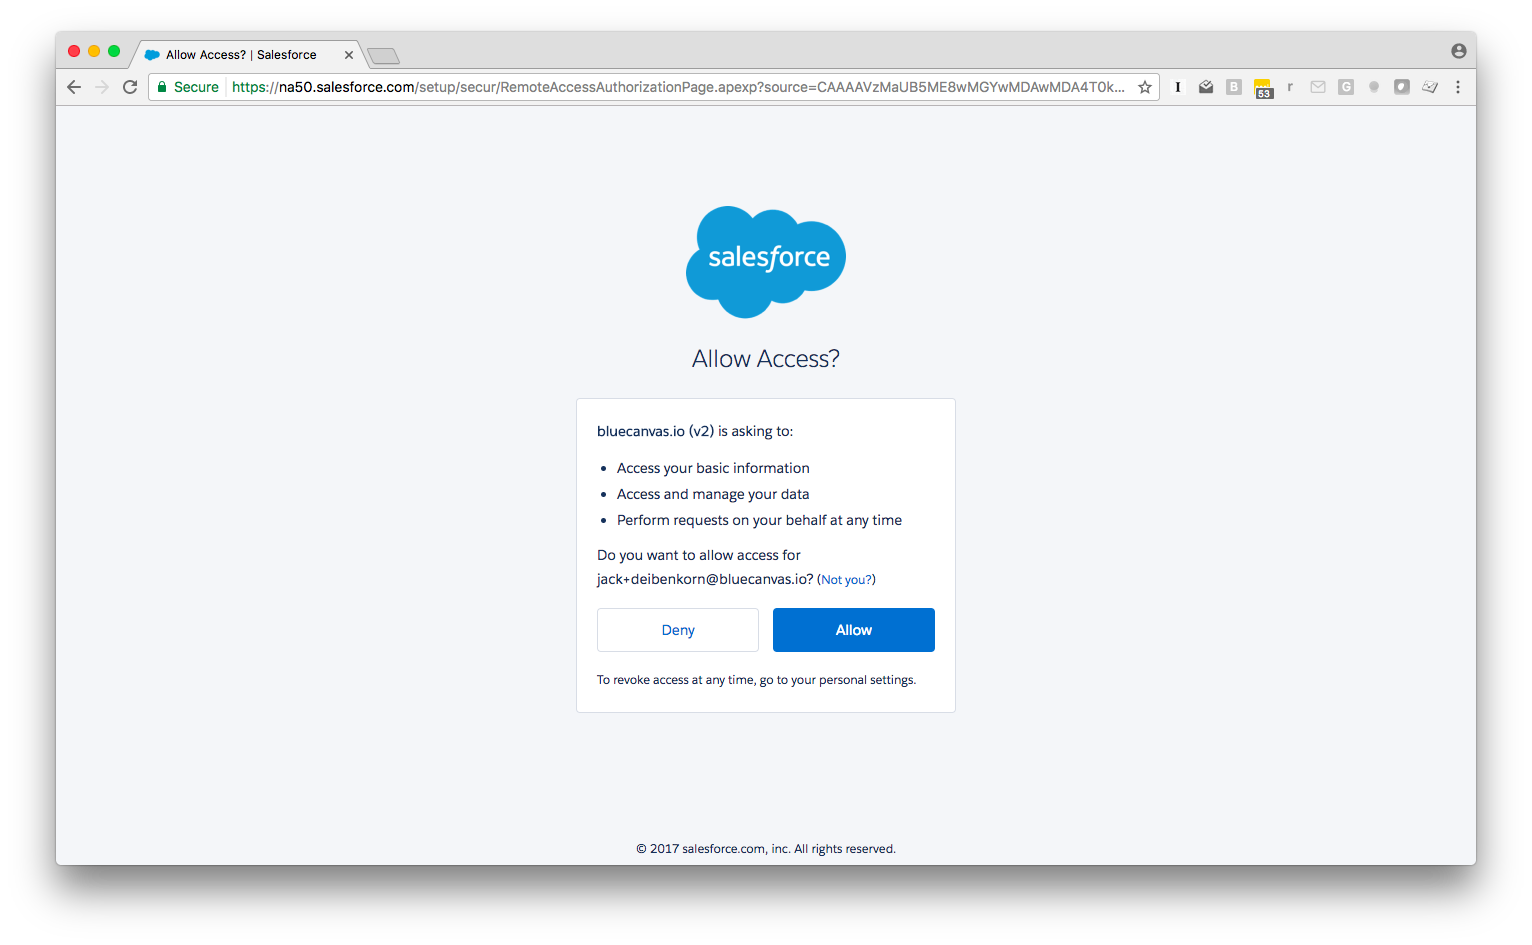
Authorize the app by clicking Allow.

That's it! Now that you're connected Blue Canvas will automatically track and backup your metadata.
For more please see this demo video:
Next you can compare files and deploy them.
Updated about 2 years ago
